Quick Start Guide
Use this guide to quickly install Terminal API, configure your terminal, and process your first payment transaction. For detailed instructions, refer to Getting Started, Integration, and API Reference sections.
Note: Terminal API uses a cloud-to-cloud integration model. Requests are sent from your backend application to Worldline services, which route them to the payment terminal.
For S1U2 terminals, tap the software MENU button after a restart until the terminal ID (TID) and password are displayed. You will need these details when configuring Terminal API.
- Complete the Worldline onboarding process. Refer to Become a Partner section.
- Register your merchant account.
- Obtain your UMID, UTID, and API credentials.
Before you begin, ensure you have:
- UMID (Unique Merchant ID)
- UTID (Unique Terminal ID)
- API Bearer Token
- A registered payment terminal
- Internet connectivity
If Terminal API is already installed, skip this step.
1. Open the terminal launcher.
2. Open the App Drawer.
3. Launch SmartPOS Store.
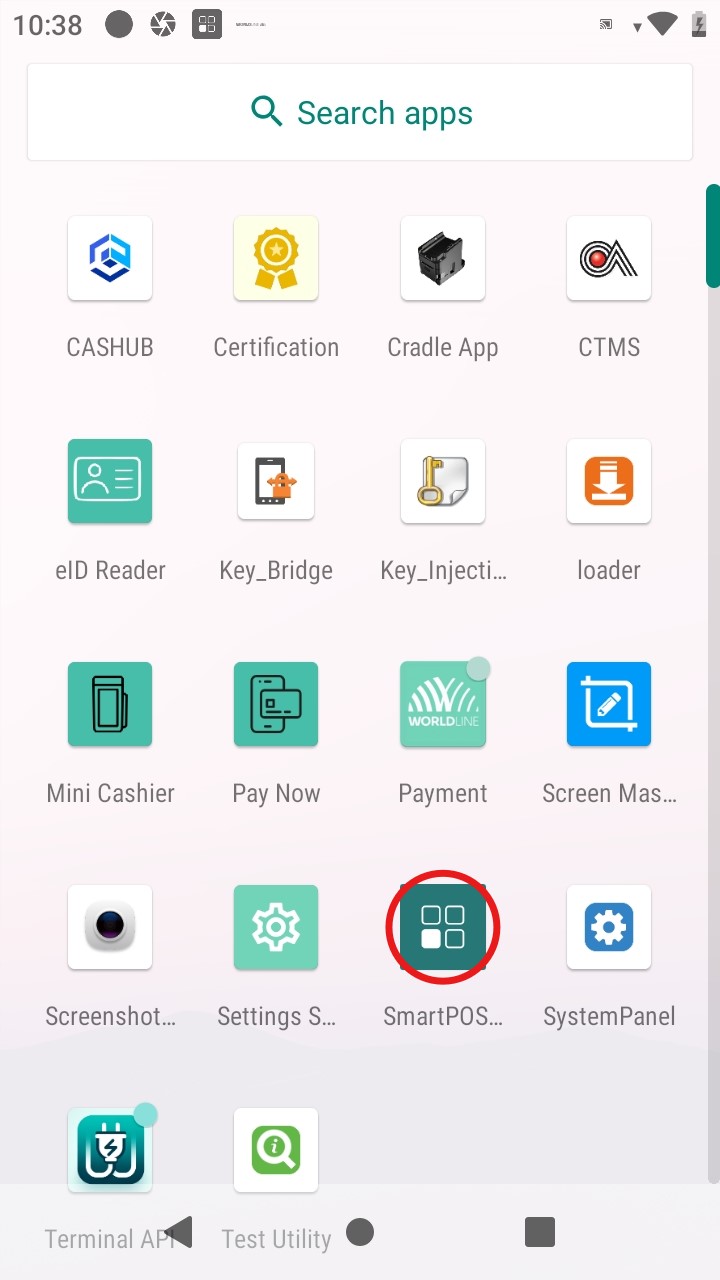
4. Open the All tab.

5. Select and install Terminal API.
- Open the Terminal API application.
- Enter UMID and UTID
- Select INTEGRATION for testing, and PRODUCTION for live transactions
- Activate Terminal API.
- Verify the cloud icon turns green.

- Click on the Setup menu.

2. Enter the terminal password.

3. Navigate to Configuration>Initialisation.
Send a synchronous payment request:
POST /api/v1/merchants/{MERCHANT_ID}/terminals/{TERMINAL_ID}/payments/sync
Required headers:
Content-Type: application/json
Authorization: Bearer <TOKEN>
Minimal request:
To process a payment, you'll send a POST request to:

/api/v1/merchants/{MERCHANT_ID}/terminals/{TERMINAL_ID}/payments/sync
A successful transaction returns a response from the terminal.
Review the transaction outcome:
Success
The payment was processed successfully.
Failure
Review:
- ResponseReason
- AdditionalResponseInformation
Example failure reasons:
- Refusal
- WrongPIN
- UserCancel
- DeviceOut
After successfully processing a synchronous transaction, configure asynchronous processing for production use.
- Create a publicly accessible HTTPS endpoint.
- Configure a valid
WebhookUrl. - Configure
NumberOfRetries(0-3). - Ensure the endpoint accepts HTTP POST requests.
- Ensure the endpoint returns a 20x response.
- Test webhook delivery.
Quick references
Learn the prerequisites, gather credentials, prepare your environment, and install and configure Terminal API before proceeding with the integration.
Learn about the cloud-to-cloud architecture, security requirements, Nexo messaging, and communication patterns.
Learn how to submit your first payment request, understand the request and response flow, and validate transaction results.
Explore endpoints, request and response models, webhooks, message definitions, enumerations, and data types.
Build customised terminal screens for user interactions.
Troubleshoot HTTP and API errors, terminal issues, connectivity problems, and transaction failures.